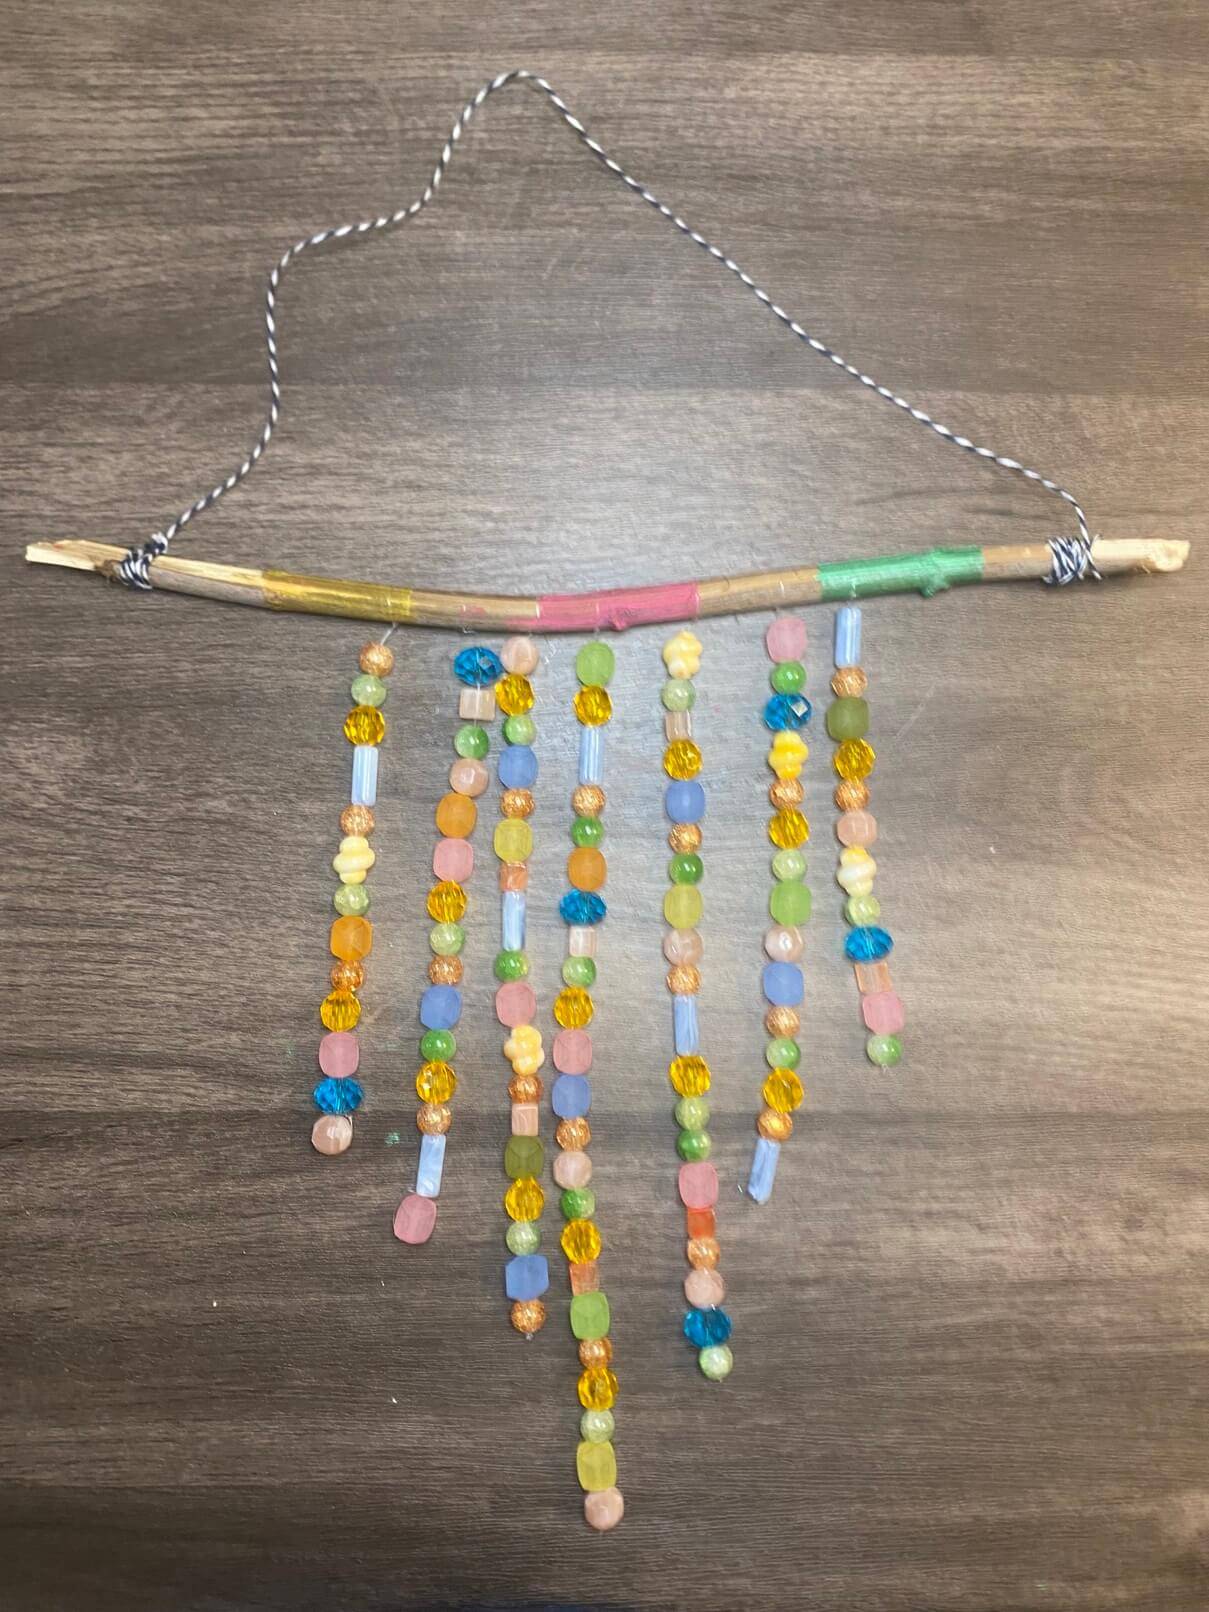
Beaded Wind Chimes
SEPTEMBER 24TH, 2024

If you have a girl who loves nature, these DIY wind chimes are the perfect craft. Crafting with nature is a fun way to inspire creativity and a love of nature at the same time. Before you can start crafting, you’ll need to lace up your shoes and go exploring for the perfect stick to use as the base of your wind chime. Happy hiking!

Here’s what you’ll need:

• Glass beads
• Stick from a tree or bush
• Fishing Line
• Twine or String
• Scissors
• Paint
• Paint brush
• Painter’s tape (optional)
• Stick from a tree or bush
• Fishing Line
• Twine or String
• Scissors
• Paint
• Paint brush
• Painter’s tape (optional)
SHOP PRODUCTS
How to make your Wind Chime:
Step 1: Go for a nature walk to find a stick for your wind chime. It does not have to be perfect or be a certain size. .

Step 2: Start by painting the stick. We used painter's tape to make sections to paint. Get creative and paint yours with designs or shapes!

Step 3: While the paint is drying, measure out the fishing line. You will need to cut
around 7 lines. Ours were 20 inches long. You can do more or less depending on how full you want your wind chime to be.
around 7 lines. Ours were 20 inches long. You can do more or less depending on how full you want your wind chime to be.

Step 4: Once the paint on your stick is dry, add the lines. Take the fishing line and tie it once around the center of the stick. (We always double knot!) Start in the center and work your way out for each line. (Tip: We found it easier to work with one line at a time. We tied the first line, completed step five, then tied the next line.)

Step 5: Start adding beads. You can randomly place the beads on the line or you can make a pattern for each line. You can make each line the same length or make them different lengths.

Step 6: Secure each line by looping the end of the line through the top of your bead and tying a knot at the end of the line. We used triple knots to make sure they were secure.

Step 7: Tie the twine to one side of your stick and wrap it around a few times. Leave enough slack so you will be able to use it to hang your wind chime.

Step 8: Tie and wrap on the other side.

Step 9: Hang outside and enjoy!

These wind chimes would also make a great gift! This kids craft idea is a fun way to kick off the fall season. We can’t wait to see your creations!
